Digital FXtbook
Easy Contacts
  • Home
    • Software
    • The Author
    • Former Students Hall of Fame
    • A tribute....
    • Treasure Hunt
  • Video Game Training
    • 3d Motion Graphics >
      • Unity >
        • Unity Essentials >
          • Unity's Interface >
            • Our First Assignment
          • Modeling and Level Design >
            • The Essentials
            • The Floor is Lava Name Project
            • ProBuilder >
              • ProBuilder Image Planes
              • ProBuilder Steve Modeling
              • ProBuilder Steve Texturing
          • Programming >
            • Getting Started with Scripting
            • Default Scripting
            • Scripting a Game Object
          • Real Time Audio >
            • Adding Background Music
            • 3-d Audio effects
          • 2d Essentials >
            • 2d Game Objects
            • Objects on 2d Game Objects
        • Creative Core >
          • Introduction to Creative Core
          • Shaders and Materials
          • Lighting
          • Animation
          • VFX
          • Cameras
          • Post Processing
          • Audio
          • User Interface
          • Proto-Typing
    • C# Programming >
      • Visual Studios >
        • First Program >
          • Getting input from the User
        • Comments >
          • PsuedoCode
        • Variable Types >
          • AlphaNumeric Variables
          • Numeric Variables
          • Putting it all together
        • Operators >
          • Assignment and Arithmetic Operators >
            • Use of Parenthesis
            • When is Easter??
          • Comparison and Logical Operators >
            • Logical Data, Illogical Assignment
          • Random Class
        • Conditional Statements >
          • Number validator
          • Number tester
          • Speed Camera
        • Loops >
          • For Loops >
            • Adding Numbers
          • For Each Loops
        • Arrays >
          • Simple Arrays
          • Complex Arrays
      • Intro to Unity >
        • Unity Essentials >
          • Unity's Interface
          • The Essentials
          • Programming >
            • Getting Started with Scripting
            • Default Scripting
            • Scripting a Game Object
        • Intro to Programming 1 >
          • Player Control 1 >
            • Player Control 1.2
            • Player Control 1.3
            • Player Control 1.4
          • Player Control 2 >
            • Player Control 2.2
            • Player Control 2.3
            • Player Control 2.4
          • Player Control Challenge
        • Intro to Programming 2 >
          • Sound and Effects >
            • Sound and Effects 3.2
            • Sound and Effects 3.3
            • Sound and Effects 3.4
          • GamePlay
          • User Interface
          • Feedback and Testing
          • Next Steps
        • Intro to Programming 3 >
          • Manage Scene Flow and Data
          • Apply Object-Oriented Principles
    • Modeling and Rigging >
      • Modeling >
        • Introduction: The Temple
        • Name Text Curve
        • Character Modeling >
          • Minecraft Steve
          • Minecraft Steve UV
          • Roblox Character modeling
          • Big Daddy
          • Demon School Iruma-kun
          • Character Modeling Legion the Geth
          • Character Modeling Geth Armor
        • Weapons >
          • Minecraft Tools and Weapons
          • Minecraft Movie Pickaxe
          • Minecraft Movie Sword
          • Thor's Hammer
          • Hammer
          • LOL Sword
          • Sword of Light
          • Buzz Axe
          • Weapon
      • Rigging >
        • Intro to Rigging
        • Controls
        • Rigging Basics
        • Rigging Creating Skeletons
        • Rigging: Body Controls
        • Rigging: Hands
        • Rigging: Skinning
        • Smooth Skinning
    • Advanced >
      • Modeling >
        • Image Planes
        • Polygon Modeling >
          • Coke Can
          • Low Polygon Character
          • Character Modeling Legion the Geth
          • Character Modeling Geth Armor
          • Face Modeling
        • NURBS Modeling >
          • Intro to NURBS
          • Lofting
          • CV Curves
          • Organic Modeling
          • Autombile
      • Linda Training >
        • Advanced Modeling >
          • Modeling Basics
          • Modeling Room Objects
      • Texturing
      • Rigging >
        • Rigging with HumanIK
        • Smooth Skinning
  • Student Films
    • Advanced Student's movies
    • Beginning Student's movies
  • Links
    • BPA
    • The Top Six Animation Schools
    • The Top Video Game Design Schools

Invisi-World

Picture


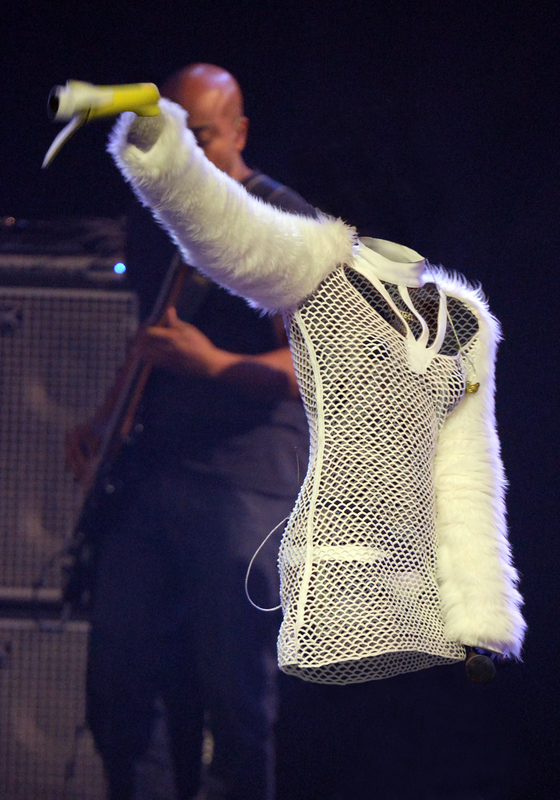
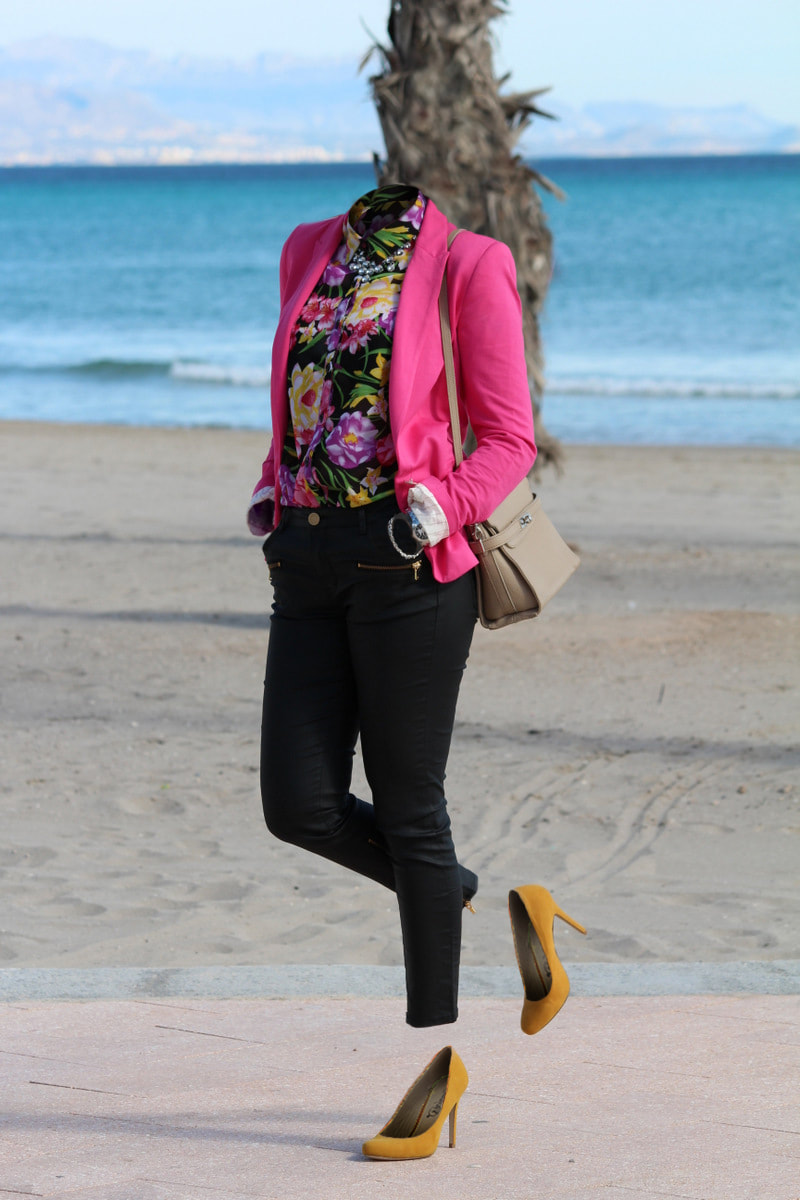
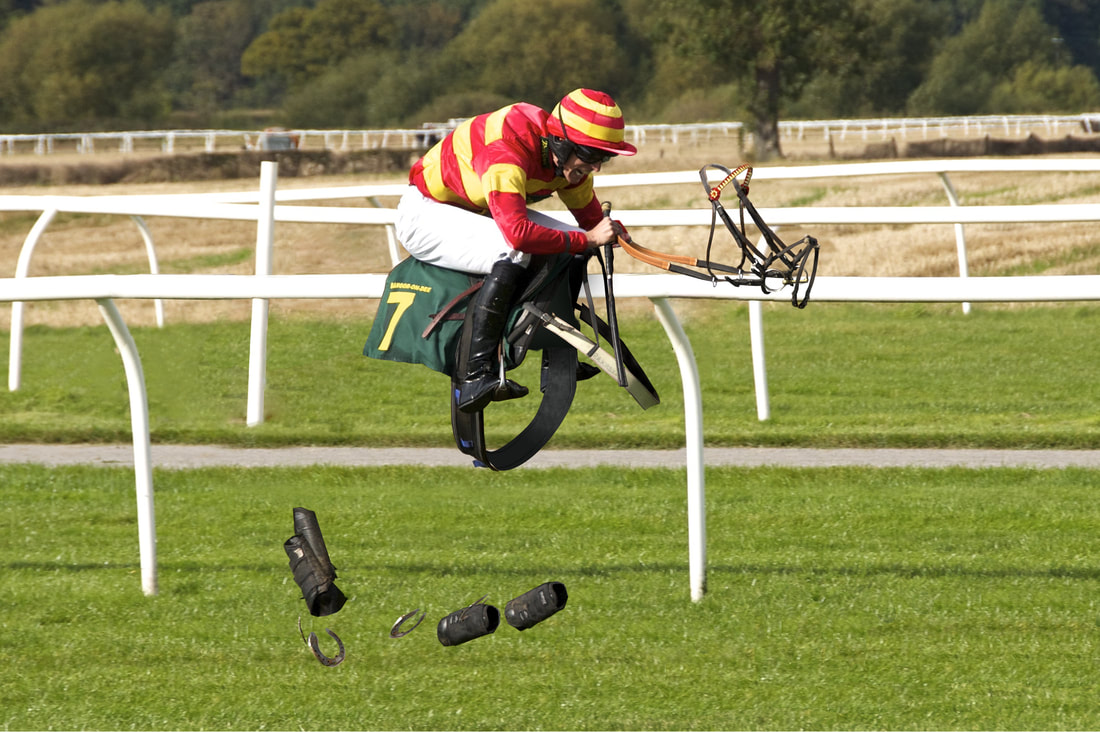
The first time I had the opportunity to see an image like this I was absolutely blown away... I was blown away with how the image was missing the most important features of what was supposed to be there. The basic idea is to hide or get rid of the very pieces of information that your audience expects to see...

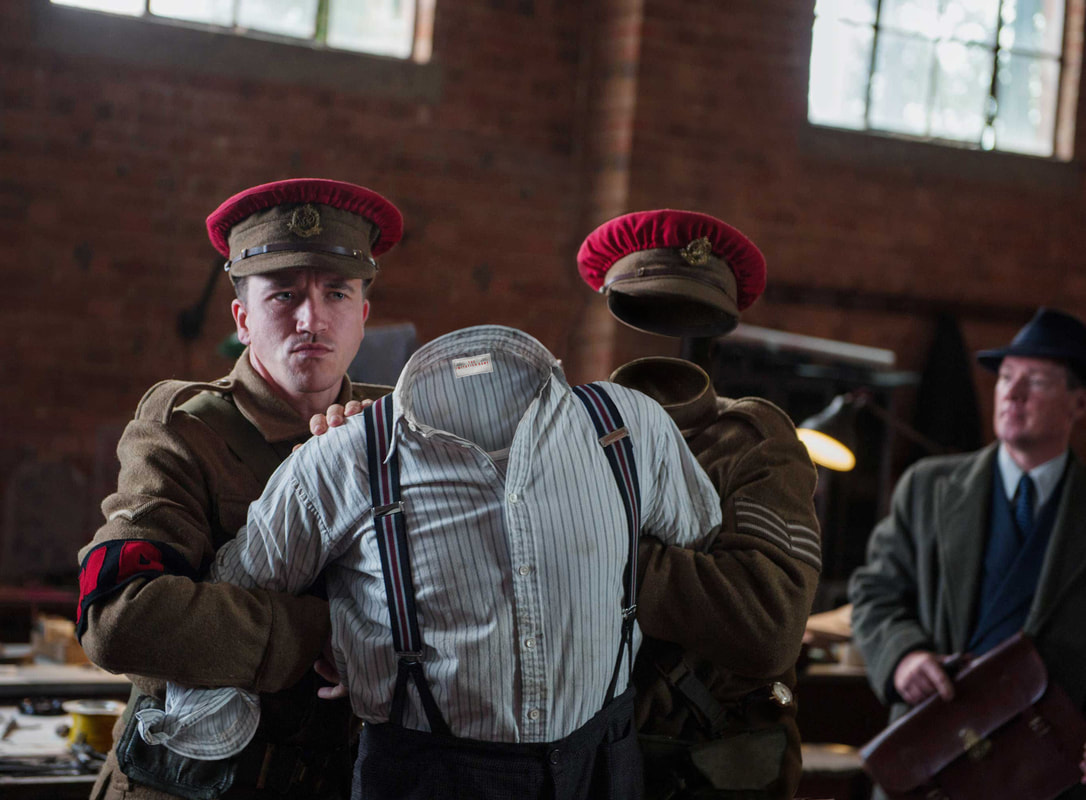
In the example on the left  Charlie Chaplan has been made invisible....


In the video series you will produce, with me, an image that we hide the most important information and make it appear that the image was supposed to be that way to start off with.  We will start off our work with finding an image. You are required to find your own picture to work with. If we always do the same image together then these lessons become drull, drab, and just boring. So watch the videos and use them as a guide. If you would like to do the image that you see above then I will provide the source image below. 
I cannot stress this enough.....
​You will not learn ANYTHING long term unless you begin to do your own image and struggle with making it work!!!

​So go find your own picture to work with.


Tools used/stuff to be learned

We will be using both the Clone stamp tool to get rid of the original pixels that need to go away. The Clone stamp tool allows to to recreate what should be in the background into areas that those pixels do not currently exist. We will then utilize selection tools to create surfaces that need to fill in the areas that would be there if the object were invisible. For Example; the back of Charlie Chaplain's shirt and jacket need to be filled in. 


By the end of this lesson you will be able to take an image, using masterful manipulation, and make an image that could never exist in real life by making our main actors in our image invisible!!! 

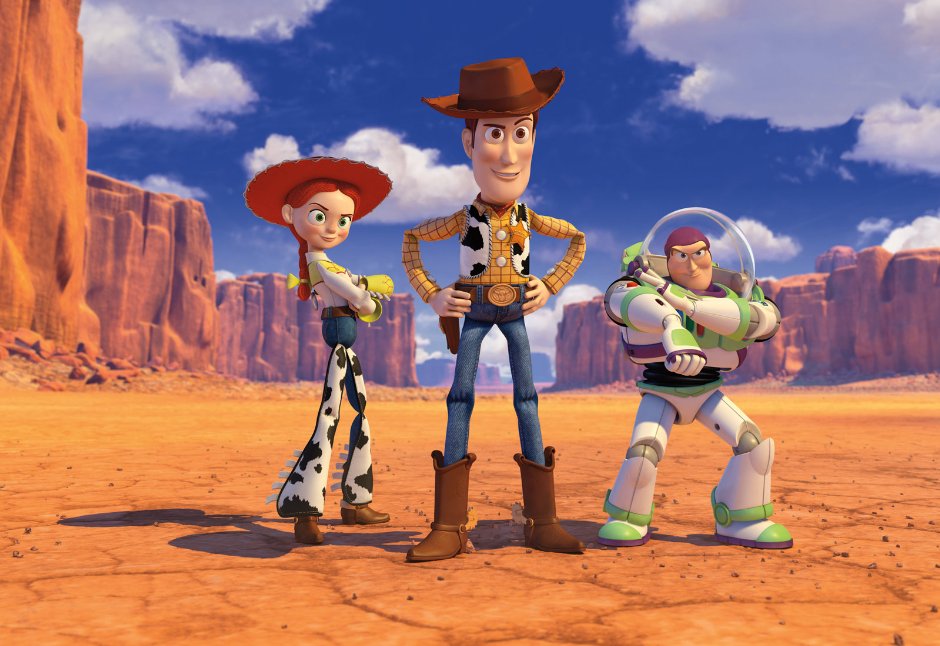
If you want to follow along and build with me
(Please don't)
​Here is the image that you will need

Picture

Videos

If you have not watch the videos for Image Adjustment lesson, Click the link Below!!!
Image Adjustment

Invisi-World Videos


Your Assignment 

Go and find your own image that you would think would be amazing to do. Make something in that image invisible.


​Some examples

Picture
Picture
Picture
Picture
Proudly powered by Weebly